 Veneers, glued into saw cuts through the mitre joint, add effective long grain glue surface area, and hence strengthen the joint.
 Prepare components as per the simple mitre. The mitre can be glued before proceeding,
or it can just be clamped and held in place.
Make a number of saw cuts, parallel to the face of the work, extending just short of where they would break through the inside corner of the mitre. These depths may vary, depending on whether any
rebate, moulding, etc., is present or due to be worked later.
The kerf left by the saw will determine the thickness of the veneer required, so you may like to prepare a special saw,
with a set that gives a kerf suiting a standard veneer thickness.
Otherwise, prepare some veneer that is a good fit in the saw cuts.
Now you can apply glue to the mitre surfaces and the saw cuts,
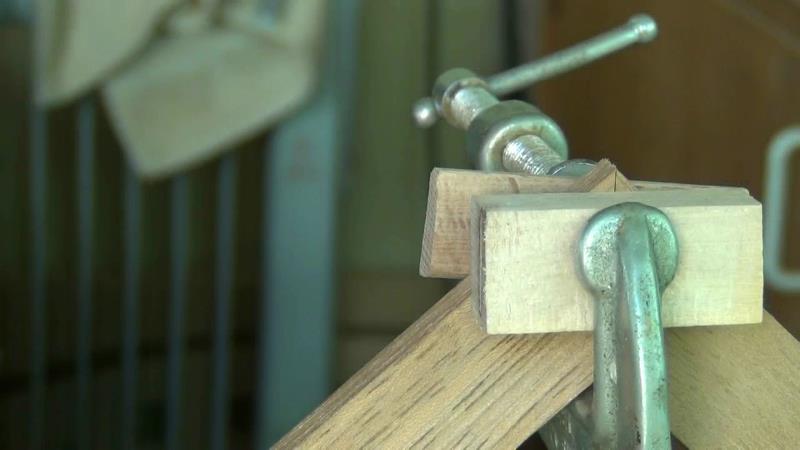
put the mitre together, holding it in a vice or similar,
and insert glued pieces of veneer. Ideally the grain of the veneer should be perpendicular to the mitre line.
But in practice as long as it isn't aligned with the mitre line, then the joint will acquire a significant increase in strength.
Clamp the joint across the faces to ensure a good bond on the veneer keys.
Once cured, the keys can be planned flush to complete the joint.
Now watch the video:


No comments:
Post a Comment