The Tongue and Rabbit joint joins two boards at a ninety degree angle, and includes a mechanical 'lock', preventing the joint from separating in all but one direction.
The two components are prepared square and true, with the ends shot square. In this example, they are of the same width, and thickness, but this is not necessary.
Set a marking gauge to the width of the board that will have the bare-faced tongue.
I'm using a gauge with a crescent tipped blade, and have the bevel facing the stock.
I like to set the point (or tip of the bevel in this case) a tad over the width
This ensures a crisp line, with any crushing of fibres being on the waste side, and final flushing of the joint taking just a shaving or two from the end grain.
For good measure, I knife the line a little deeper.
I shall be using a miniature router to remove the waste, but a narrow chisel will work just fine.
The width of the blade is marked from the gauge line, towards to end..
..and a knife line made to define the groove that needs to be cut.
Paring from the waste into the base of the knife lines..
..leaves two knife walls to guide the saw.
Use the marking gauge to gauge a depth line approximately a quarter to a third the board's thickness.
Carefully saw down to the depth line at each knife wall, keeping the saw plate perpendicular to the board.
Remove the waste to depth.
This is ideal territory for the router plane, taking thick shavings between the sawn walls of the groove.
Paring the waste with a narrow chisel, held almost horizontal will work just fine.
In either case, work from both sides towards the centre to avoid breakout.
Ensure that the botton of the groove is flat, or even slightly concave, so that the tongue will seat well across the full width. You can test for this by standing the blade of a try-square along it.
Stand the tongue board on top of the groove, aligned against the inside edge, and mark the tongue thickness.
A pencil mark is fine, as we shall saw the tongue thick and pare to a snug fit.
Now stand a corner of the tongue board in the groove..
..and mark the length of the tongue with a knife resting flat on the other board.
This is the section we need to remove.
Knife the length of the tongue across the board, using a try-square..
..and gauge it's thickness on the end, with the marking gauge.
Pare a knife wall..
..and saw the shoulder of the tongue.
Now saw the face of the tongue, releasing the section of waste.
The initial aim is for a sawn tongue, which is just slightly too thick..
..which can be cleaned up with either a chisel or shoulder plane..
..such that it makes a snug fit.
Apply glue to the joint surfaces..
..and assemble.
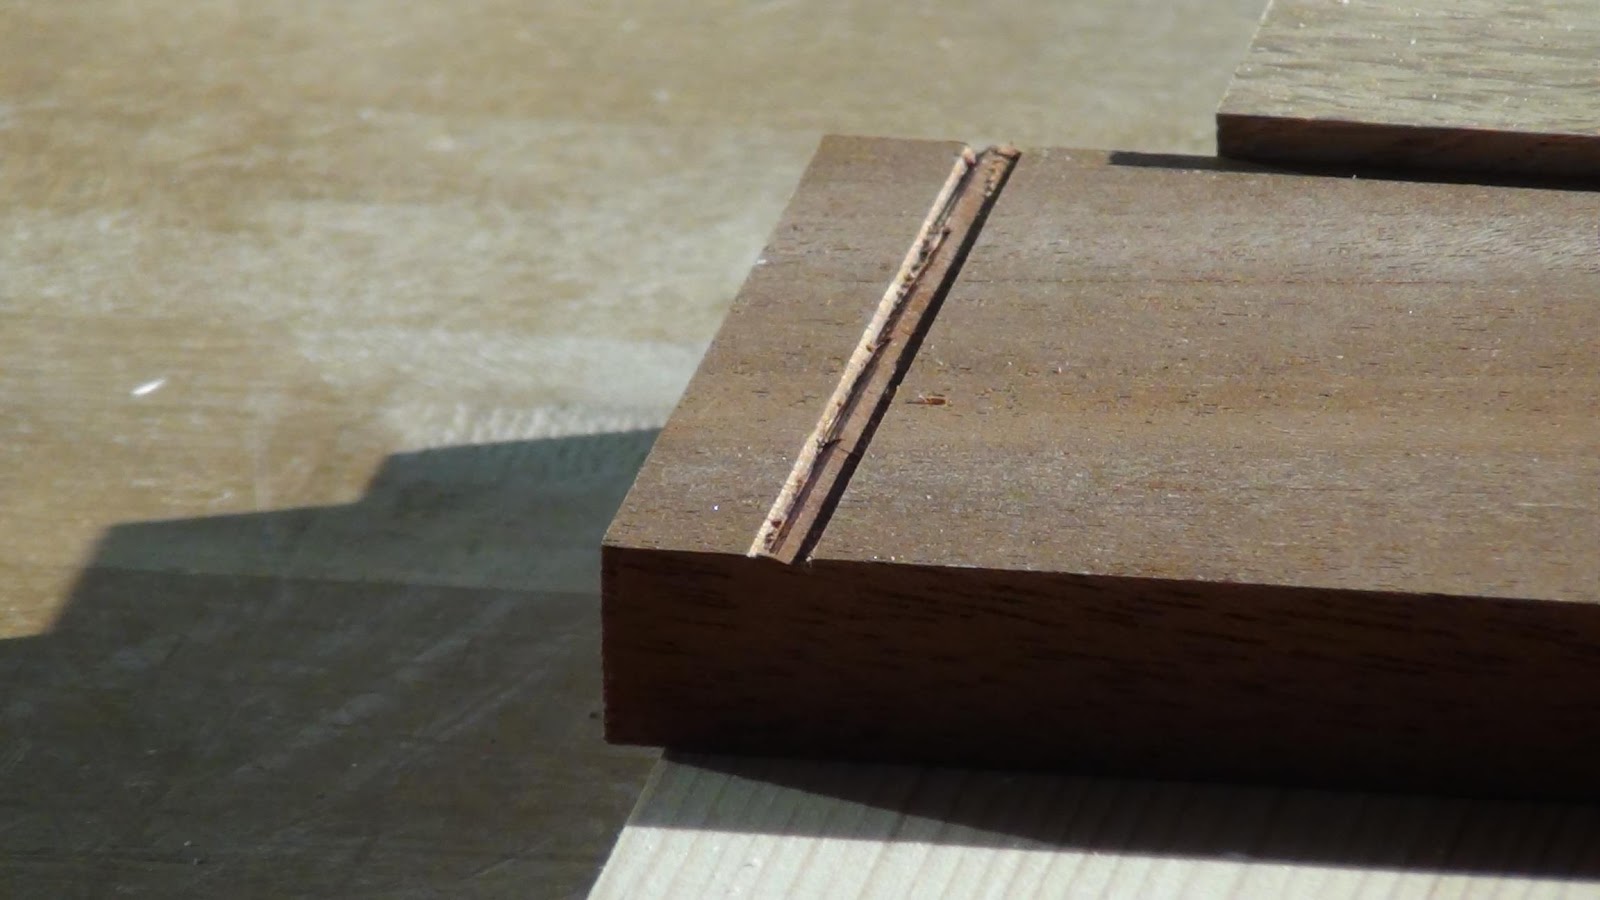
If your preparation was sound, then the two components should sit square.
Leave to cure.
The faint gauge marks can be planed off with a couple of shavings.


No comments:
Post a Comment