The beveled splice joins two components in their length. The longer (and therefore shallower) the bevel, the stronger the joint.
Components will normally be of the same width and thickness. If not, adjust marking out to compensate.
Gauge two lines in the thickness of the components to define the height of the step at each end. Here I've made them approximately 1/8" (3mm) from each face.
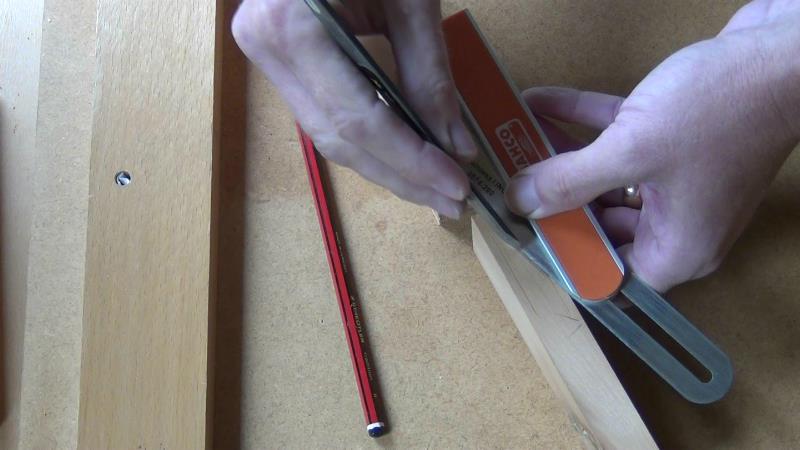
Set a bevel gauge to an appropriate angle/ratio, 1:9 say, and connect the two gauged lines on one component...
...and then the other, using a knife
Knife lines from the gauged and bevel line intersections to the edges of the components...
...and join these across the faces
Saw the bevel and shoulders...
...staying on the waste side
Clean the bevel flat across the knife lines, using a chisel or shoulder plane, etc.
Pare the shoulders to the knife line
Test fit to ensure bevel and shoulders all meet tightly. Adjust if necessary
Clamp on some blocks to each to each component as shown. There allow the joint to be pulled together lengthwise.
Do a dry clamping run. You need to clamp across faces as well as lengthwise. When you're happy...
...apply glue to bevel and shoulders...
...and clamp up
Once cured, any glue squeeze-out can be scraped off, and, if necessary, the surfaces flushed with a plane


No comments:
Post a Comment